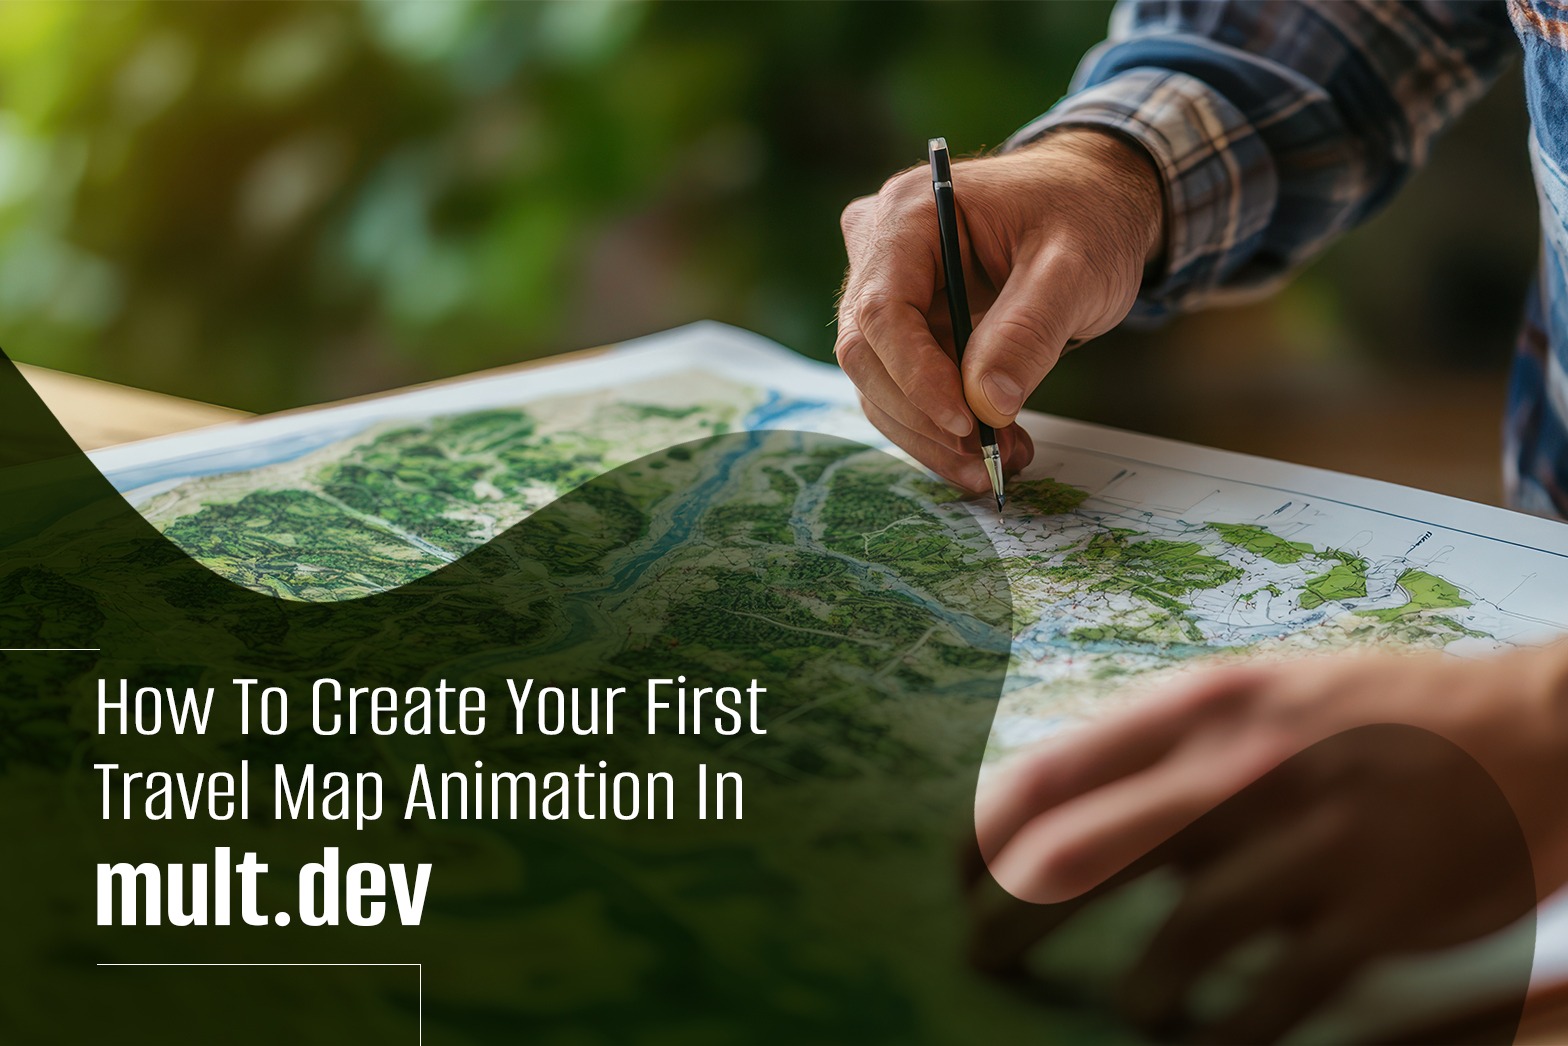
How to Create Your First travel map animation in mult.dev
Create your first travel map animation without video editing experience. Full mult.dev tutorial: locations, transport types, music, and export options.
mult.dev is a web and mobile service that turns your travel routes into animated map videos for Instagram Reels, YouTube Shorts, and TikTok. Whether you’re a travel blogger, content creator, or just want to share your trip, here’s how to create your first travel route animation.
What You Need Before You Start
Before you start, you’ll need:
Your travel route idea (a weekend trip, road trip, or world tour)
A list of locations or a GPS file (GPX, KML, or GeoJSON)
A clear goal: which social media format you’re targeting (vertical for Reels/Shorts or horizontal for YouTube)
An account on mult.dev (free sign-up via email, Google, Apple, or GitHub)
The free version gives you basic features to start, while Pro unlocks advanced transport types, real roads via Google Directions API, custom emojis, and up to 150 locations per route. Check the pricing page to compare Free and Pro features in detail.
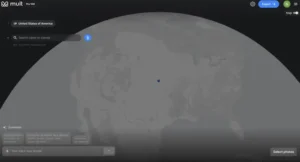
Step 1: Open mult.dev on Web or Mobile
You can use mult.dev via:
Web app: Visit mult.dev in any browser (Chrome, Safari, Firefox, Edge)
iOS app: Download from the App Store
Android app: Download from Google Play
All platforms sync your projects, so you can start on desktop and continue editing on your phone.
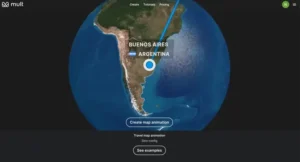
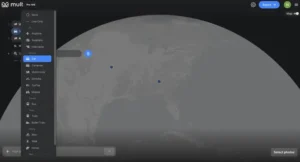
Step 2: Create a New Route Video
At this stage, you have three options to begin:
Add locations manually by typing city names, addresses, or GPS coordinates
Choose a ready-made route template if you want inspiration (popular trips, world tours, etc.)
Upload a GPS file (GPX, KML, or GeoJSON) – available in Pro for users who tracked their journey with apps like Strava, Google Maps Timeline, or Komoot
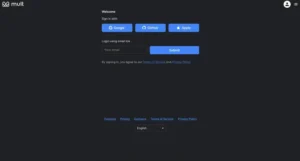
Step 3: Sign In to Save and Customize
To unlock editing features and save your project, you’ll need to sign in. mult.dev offers multiple login methods for convenience:
Email (one-time login code sent to your inbox)
Apple
GitHub
Signing in ensures your videos are saved to your account and accessible across devices.
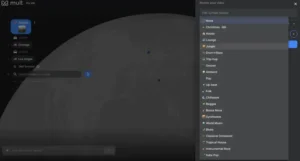
Step 4: Build and Customize Your Route
Time to build your route. In the editor, you can:
Add and arrange locations:
Click on the map or type location names to add stops
Drag and reorder points to adjust your route sequence
Set how long the animation lingers on each location
Choose transport type between locations:
Step 5: Choose Style, Background, and Music
Under the Options tab, you can adjust how your video looks and sounds:
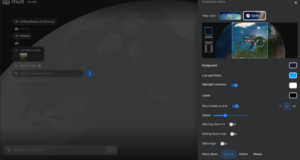
Visual settings:
Background style: Choose solid colors, gradients, or map backgrounds
Line style and thickness: Adjust how the route path appears
Label behavior: Control when and how location names appear during animation
Animation zoom and camera movement: Set whether the camera follows the route closely or shows a wider view
FPS (frames per second): Higher FPS creates smoother motion
Audio settings:
Browse dozens of music tracks across genres: ambient, synthwave, folk, pop, electronic, cinematic, and more
Each track is pre-cleared for use in your videos, so you don’t need to worry about copyright on social media
Language and format:
Adjust interface language
Choose aspect ratio (16:9 for YouTube, 9:16 for Reels/Shorts/TikTok, or 1:1 square)
The right music can make a big difference. Upbeat tracks work well for fast-paced trips, while ambient sounds fit slower routes better.
Step 6. Click “Generate” and Export Your Video
When you’re happy with your route and settings, click Generate.
mult.dev will automatically render your travel route animation. Rendering typically takes 30 seconds to 2 minutes, depending on route complexity and video length.
Once generation is complete, you can:
Download the video as an MP4 file to your device
Share a direct link to view online (useful for embedding in websites or presentations)
Post directly to social media: Export vertical videos (9:16) for Instagram Reels, TikTok, or YouTube Shorts; horizontal (16:9) for standard YouTube uploads
Your video is now ready to publish, embed in a blog post, include in a presentation, or share with friends and followers. For more details on supported formats and technical specs, check out the article on video file formats.
Creating your first travel map animation with mult.dev is simple and requires no video editing experience. By adding your travel locations, customizing the route, choosing styles and music, and generating the final video, you can quickly transform your journey into an engaging animated story. Whether you are a travel blogger, content creator, or someone who wants to share memorable trips, mult.dev makes it easy to turn travel routes into eye-catching videos ready for Instagram Reels, YouTube Shorts, TikTok, or other social platforms.
If you want to know more about our blogs, feel free to connect with our LinkedIn page.
Recent Posts
How AI-Driven Affordable Digital Marketing Tools Are Fueling Small Business Growth in 2026
Digital marketing in 2026 is a different world especially for small businesses. The biggest shift? AI-driven, affordable digi...
Discover the Best Footer Design Inspiration with Footer.design
When it comes to website design, footers are often overlooked but they are more than just an afterthought. A well-crafted foo...
Google Gemini app adds AI music generation with Lyria 3.
Google is expanding the creative capabilities of the Gemini app with the beta launch of Lyria 3, a new AI-powered music gener...
LinkedIn shares top skills on the rise in marketing for 2026
LinkedIn published its latest listing of skills on the rise in marketing, which highlights key trends in skill development ba...